This project is super easy and it ends up looking so cute, so I do it every month for Vera’s pictures but you can also use the numbers or letters for decoration. Here’s a list of all of the materials and the steps involved, including how we take the picture itself. I hope you enjoy it! Here we go…
Este proyecto es súper fácil y el resultado es hermosa, lo hago todos los meses para tomarle la foto del mes a Vera pero realmente se puede hacer con números o letras para decorar también. Les voy a dejar los materiales y la descripción paso a paso inclusive de cómo tomamos la foto. Espero que lo disfruten, aquí vamos.
Materials:
A cardboard number.
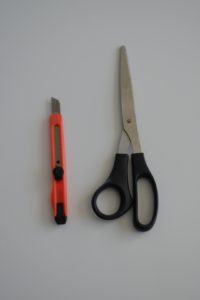
An X-acto knife.
Scissors.
Artificial flowers.
Materiales:
Número de cartón.
Exacto.
Tijeras.
Flores artificiales o de plástico.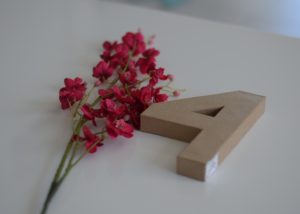
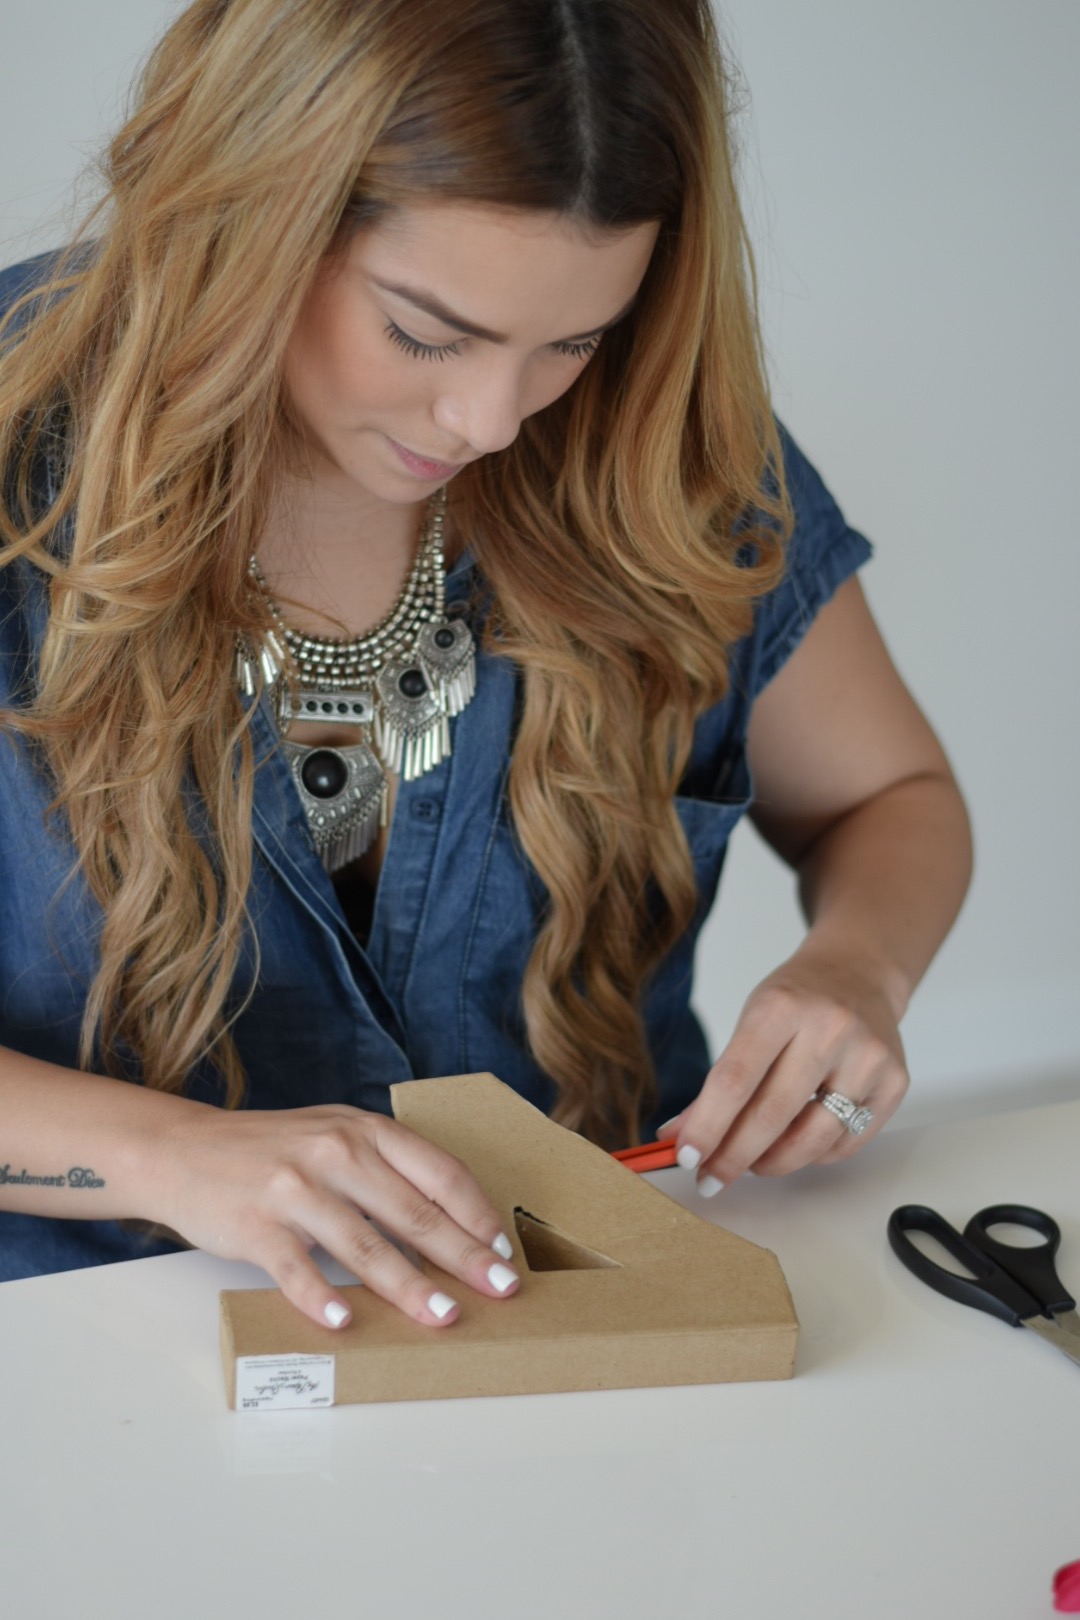
First start by taking your cardboard number and, with the X-acto knife, carefully cut the top layer off along the outline of the number’s edges.
Toma el numero de cartón y con el exacto corta cuidadosamente la capa superior por el contorno de los bordes.
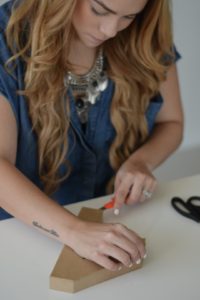
Take the top layer off.
Quita la tapa de encima.

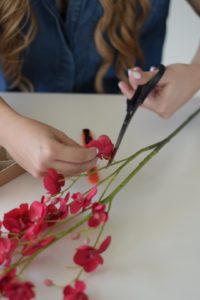
Cut the flowers one by one to easily remove them from the main stem, and make sure to leave a little bit of the stem on the flower so it doesn’t fall apart.
Corta las flores una por una para despegarlas de la rama, asegúrate de dejar un poco de espacio en el tallo de la flor para que no se desarme.
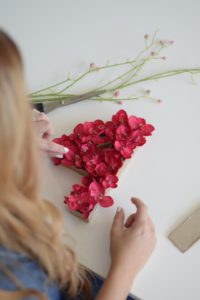
Then, put the flowers inside the cardboard number until it’s nice and full. If you want you can use glue to make sure the flowers don’t move, but I don’t glue them because I usually end up using them for another project down the road.
Luego coloca las flores dentro del número de cartón hasta rellenarlo completamente, si deseas puedes asegurarlas con silicona, yo no las aseguro porque usualmente las vuelvo a usar para otro proyecto.
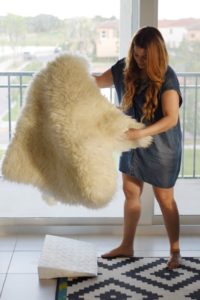
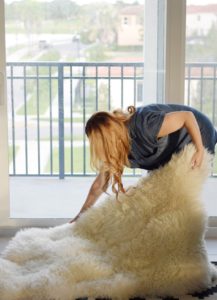
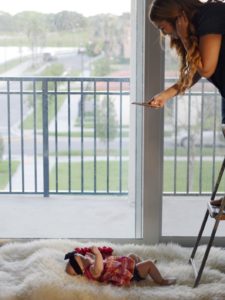
Now, to take the pictures I use a little elevated wedge from Vera’s crib and I put it on the floor, and on top of that I put the rug. The elevated wedge acts like a pillow, if you don’t have the wedge you can just use a regular pillow and then choose a backdrop for the picture that you like and get as close as possible to natural light. I take the picture from directly above Vera, so I use a little step stool to get the angle I want. Believe it or not, I mostly use my phone for this picture, and I play with Vera so she laughs and ta-da! Behold Vera’s cute monthly picture.
Para tomar la foto ubico una elevación para cuna en el piso y sobre la misma pongo una alfombra. La elevación la ayuda a tener como un especie de almohada, si no tienes elevación usa un cojín o almohada, escoge un fondo que te guste y ubícate lo más cerca posible que puedas de luz natural. Yo le tomo la foto desde arriba así que uso una escalera para poder captar la imagen en el ángulo que me gusta, generalmente para esta foto uso mi celular, le hago juegos para que se ría y tarán, he ahí nuestra foto del mes.
I hope you enjoyed this fun DIY project and that you give it a try with your little ones. If you do, please use #ohlolaDIY so I can see how it turned out! Kisses and I’ll be back very soon!
Ojalá lo disfruten y se animen a probarlo con sus bebes, si es así por favor usa el #ohlolaDIY para compartirlo conmigo. Besos y nos vemos súper pronto.
Stay Fabulous
Love, Lola